Feeds:
Posts
Comments

Archive for the ‘Handmade Flowers’ Category

Hello Everyone!!


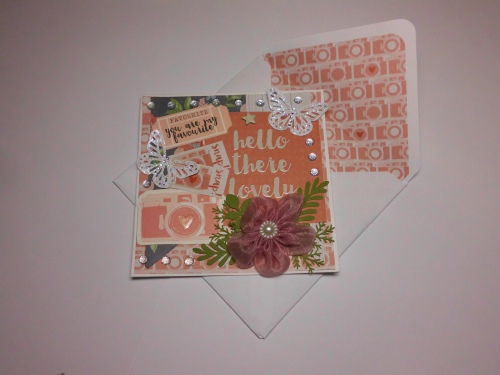
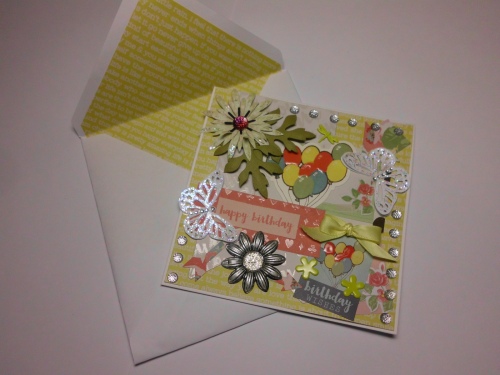
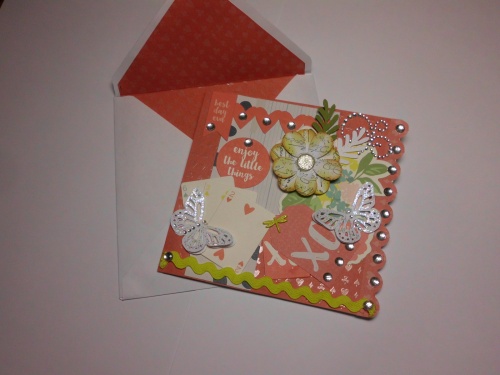
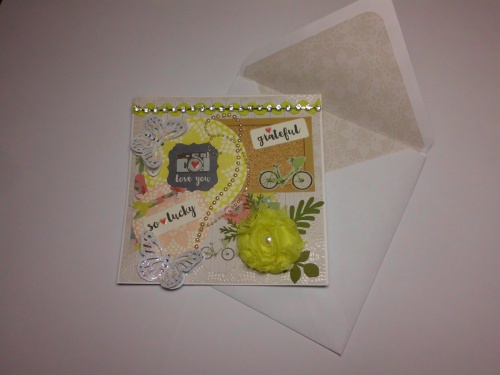
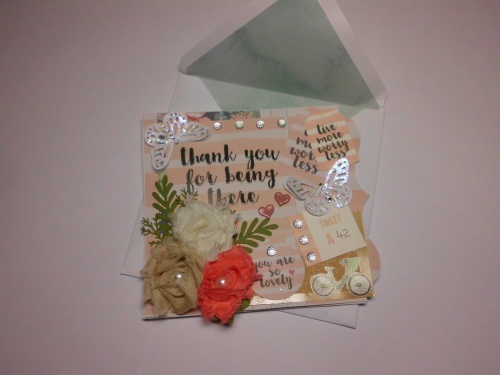
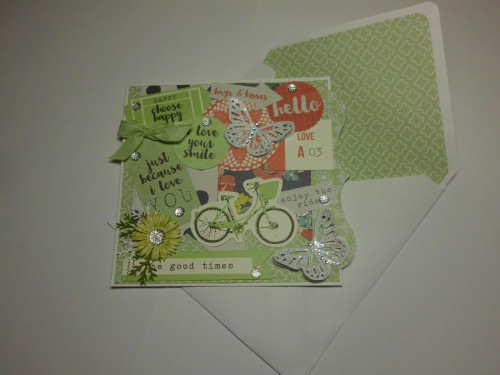
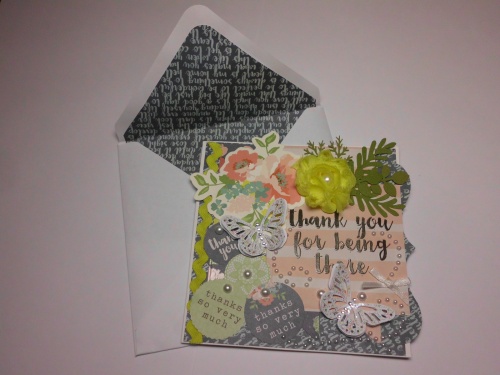
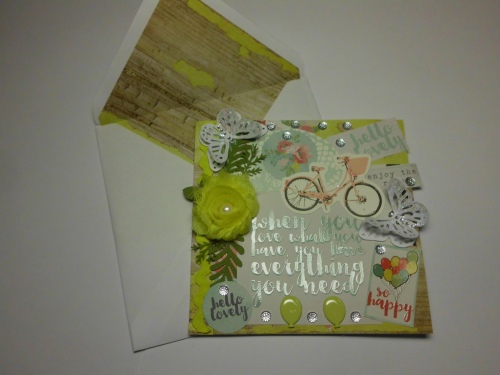
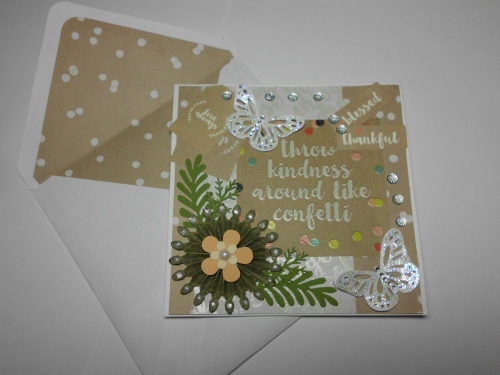
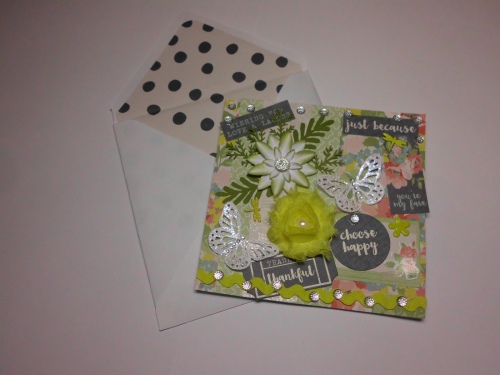
We are back with some lovely cards made from Kaisercraft products in a kit from Paper Flourish.  Everything provided except some bling, flowers, foliage and butterflies I added from my stash.  Papers (6 1/2 x 6 1/2 pad), collectables, card and envelopes and bling were all in the kit as well as 6 designs for inspiration.


Teddy and I made 10 cards with lots of collectable pieces and we lined the envelopes TA-DAH!!! Still there were lots of collectables, the pearls and some papers left over as well as lots of off cuts that we used to punch out a heap of butterflies and other punchies for the little kids at child care to play with.


So let’s have a look at them, shall we??  Teddy is so proud of his work on these.


sany4229


sany4228


sany4227


sany4226


sany4225


sany4224


sany4223


sany4222


sany4221


sany4220


These were fun to make, taking me out of my comfort zone.  Very different to what I usually do in my not using very much by way of designer paper, Teddy might have to get more of these kits, or even other ones to see how we go with them.


Thanks for calling in, hope you like what you see.


Love Lauren xx


Read Full Post »

Hello Everyone!!


Has been a busy month in September, went to Retreat on the Gold Coast for Tracy Kielty at My 2 Angels Scrapbooking.  Loved every minute of it.  Then home and a week later the date came up for my Open Heart Surgery to replace my stenosed Aortic Valve.  So scary, so fearful, not of not making it, but of having complications, not so sure I am a fighter any more 🙂

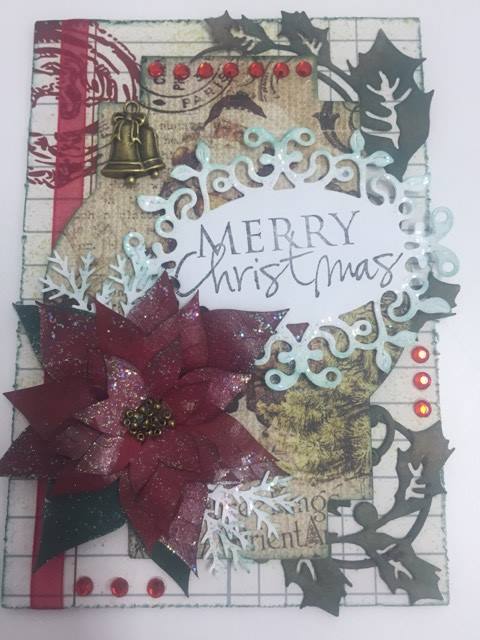
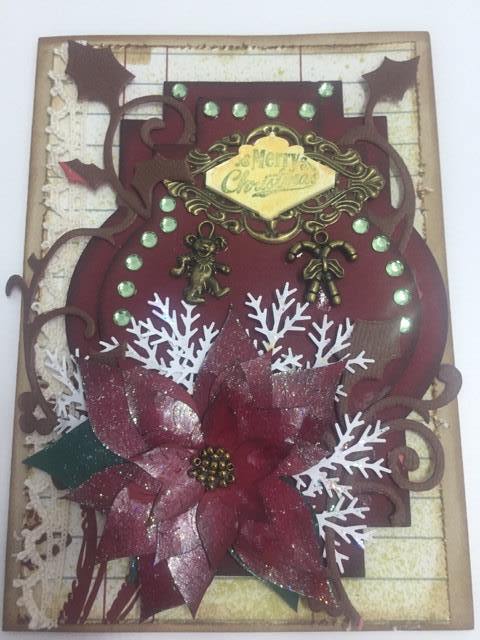
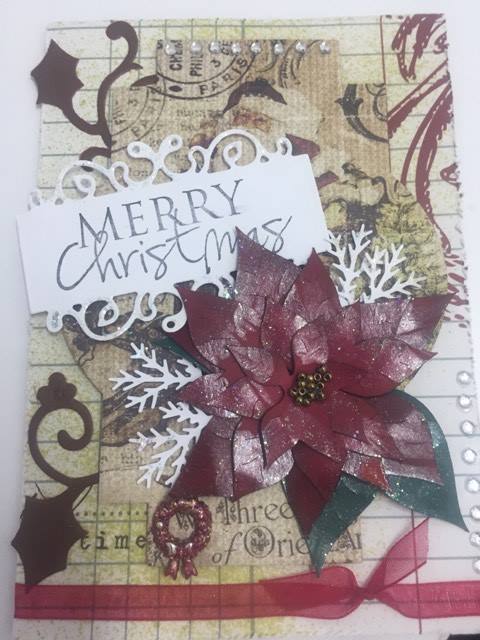
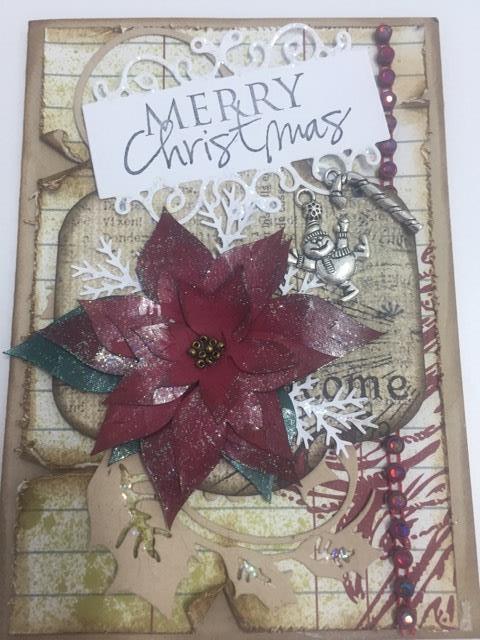
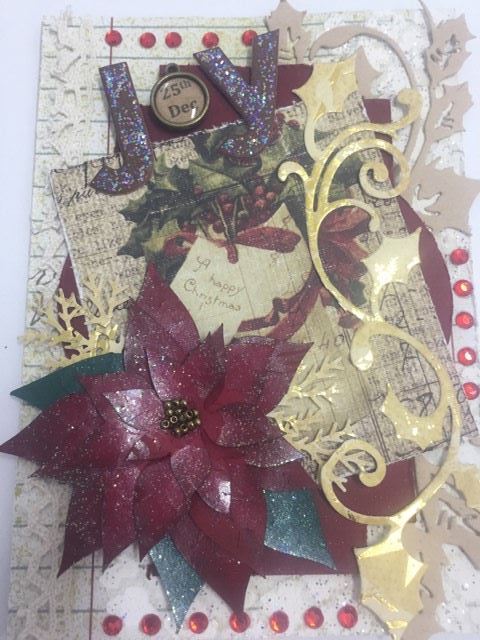
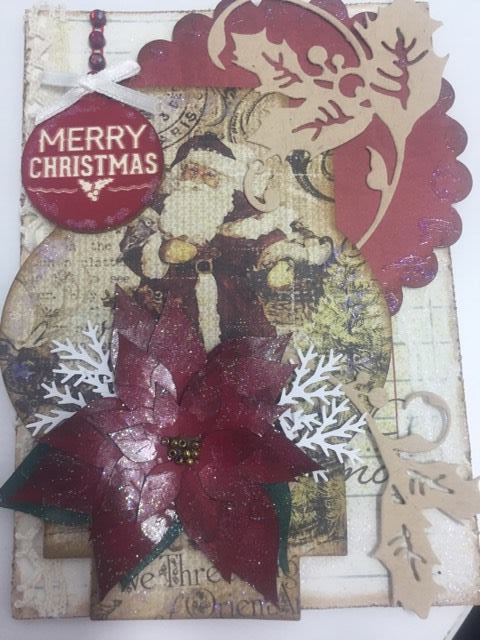
So while Teddy and I were at Retreat we had such fun and made some cards!! Amazing, we crafted with other people and actually got some cards finished.  And we sat at the naughty corner tables with our new best friends.  Check these out from a lovely kit from the lovely Tracy!!


lauren-christmas-1lauren-christmas-3


lauren-christmas-2


lauren-christmas-4


lauren-christmas-5


lauren-christmas-6


So now it is mid October and my boy is having his birthday today, I am recovering well and Teddy and I are creating in the craft room and we are blogging.  What more could anyone ask for?


Hope you like what Teddy did at Retreat, we are a little slow at making things, but we think we make them nicely and they are oh, so pretty 🙂


Thanks for calling in


Love Lauren xxx


Read Full Post »

Hello Everybody, Lauren and Teddy up on the A2Z Scraplets blog today with a couple of tags this time.

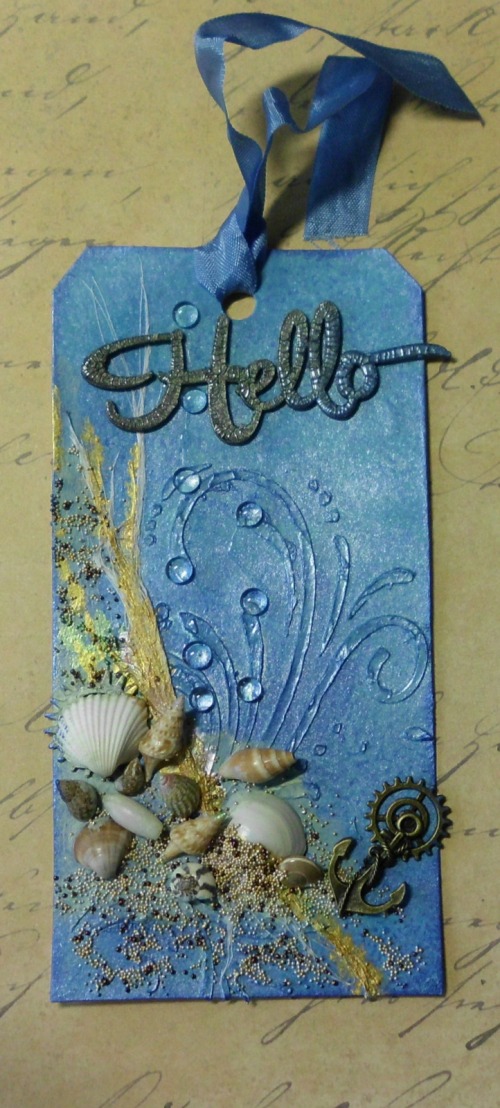
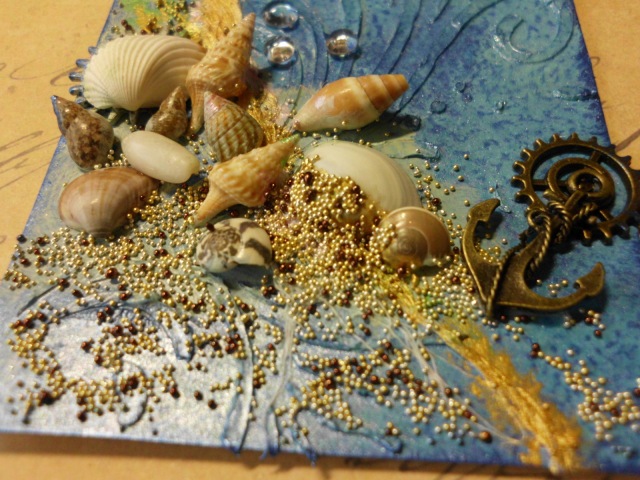
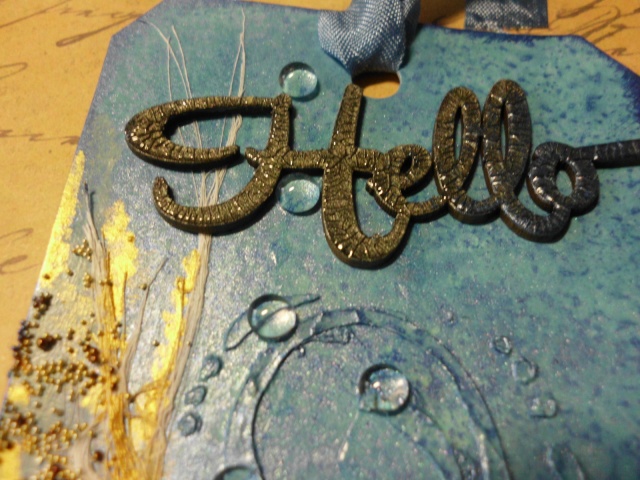
We had such fun making this mixed media Tag of the Sea.   We started by using some Texture paste on with A2Z Scraplets Stencil Flourishes and then painting the all over with Ranger Distress Paint Broken China and then some sponging of Bundled Sage over the top.  When dry I sponged with Inka Gold Aquamarine with added water to get the mottled look.

Next came some decorating with seashell, netting, charms and microbeads over a coat of white glue (dries clear) and some touches of colour  Viva Inca Gold in colours of Gold, Jade and Rose Quartz.
When I was happy with the decorated look, I added some Inka Gold in Cobalt Blue around the edge and put the bubbles on and the A2Z Scraplets Hello.   The hello was done in Inka Gold Charcoal and Cobalt Blue and then coated with Crackle Accents.

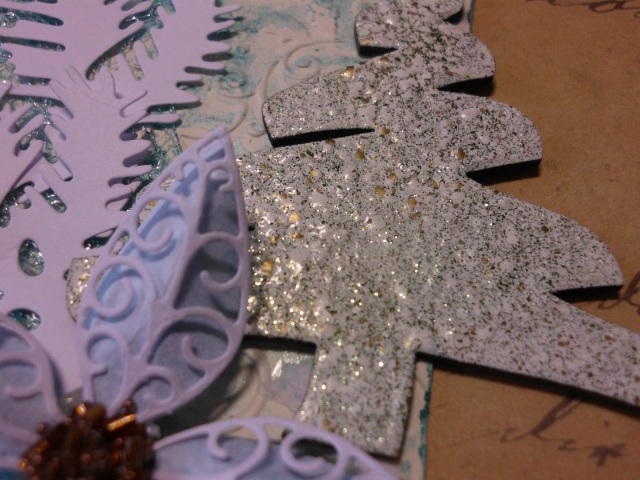
This Christmas Tag was done with and embossing folder from Courture Creations that was sprayed with Colourblast Shimmer Spray Deep Water.

Lace and netting to decorate, a pine die cut for the foliage and the Memory Box Luxe Pointsettia .  Merry Christmas added with the A2Z Scraplets Xmas Tree

The Christmas Tree was embossed using Stampendous EP in Shabby White, I just love this stuff!!!

Now I just what to show you some different effects that can be obtained by some crackle mediums.  I love crackle, or the look of it.  All the below examples are painted prior to using a crackle medium on them.

This first one, is done in Inkssentials Crackle Accents.  Only the triangles were done, covering the sides of the triangles in one single line of medium and then pulling it to the centre, so that it was really dimensional.

This one Wrought Iron  was done with Viva Crackle Medium and gives a more opaque finish and a different effect of really squiggly cracks.  The medium was applied all over and fairly thickly.  I applied this with a palette knife as this is easier for me than a brush.

This leaf was done with Crackle Accents, I really like the way this gives the line effect at the edges of all the leaves (Simple Greens).  I must experiment more with the way this is applied as I think I get different effects with different ways of applying it.

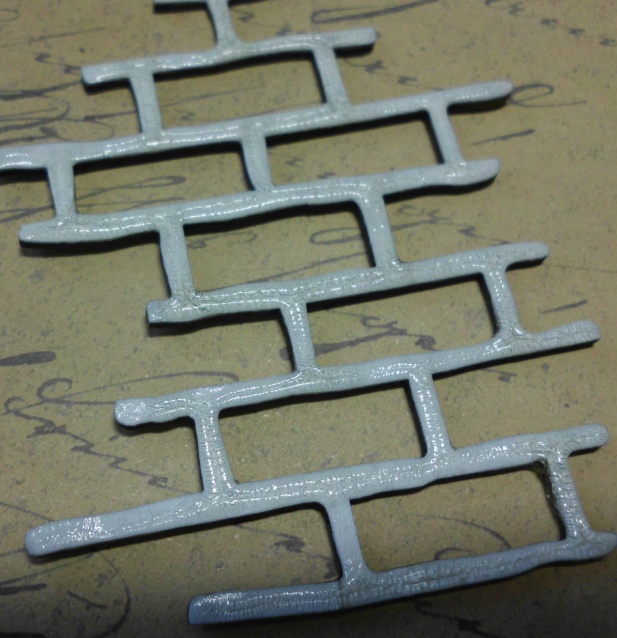
The Brickwork Pieces is done with Ranger Distress Crackle Paint in Rock Candy.  I love the little squares of crackle this gives, and will give the same effect thick or thin.  This was applied with the brush that comes in the bottle of Crackle Paint.

Now you want my conclusions……. you are just busting to know that I find the crackling effect of all three products amazing……. for ease of use I say the Crackle Accents by Inkssentials is fool proof as it has an applicator nozzle and for lazy people like me it is so easy to use!!!!

Well that’s it for us this time, thanks for calling in.

Love Lauren and Teddy

Read Full Post »
Hello Everybody!!!

Lauren and Teddy up today!!!!  Oh we just love sun-filled Winter Days!!! At the moment we are getting mega fogs in the morning and that fog burns off to be such a sunny day, we open the blinds and let the warmth come inside.  When it is like that I love to craft and Teddy and I have been doing a bit of that lately for you!!!

So we thought we would show you a couple of cards we have made for you 🙂

Oh today we have used one of the A2Z Scraplets Stencils Pebblestones – Stencilets & Masklets on the background with CM Metallic Silver, and sprinkled with Embossing Powder (Adirondak Wild Plum) and then heated.  I love this result.  Also used a recent release Decorative 9 Corner Set of 2 and painted it with Viva Inka Gold, so shiny, so beautiful, so vibrant.  You could use a paste or spray from the Colour Blast range in store.

Handmade flowers by me using the EK Success Flower punch in Whale and Medium size.  Tutorial here to make the flowers.

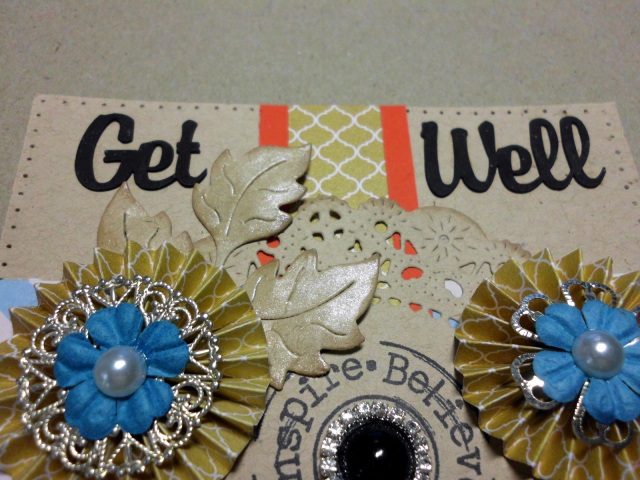
The second card we have for you has used those fabulous words for cards that A2Z Scraplets have available.  I love them.  Handmade holes around the edge of the card, but no stitching in it.

Lots of dies, a stamp and I love those little rosettes that I have used a scoreboard to make, then decorated with charms, flowers and pearls to match my card. Leaves are painted with Glimmer Glaze.

Love that leaf die, it is by Crafty Ann and not sure whether Cheery Lyn have picked it up since they took over.

So proud of ourselves with this one!!  You know I like to recycle, well I have recycled the ‘outer’ of the Star Set of 2 Flourish, so 3 cards out of this chippie, how clever is that.  We have coated it with Stampendous Shabby White Embossing Powder. Went with  purple glitter paper behind it, as I found some leftover star shapes in my diecut box.

This close up gives you an idea of how dimensional and textured this card is.  I love it!!!

Thanks for calling in, have fun papercrafting and get your hands messy with mediums!!!

Love Lauren xxxx

Read Full Post »

Hello Everybody,

It is Teddy (if you don’t know Teddy, he is sidekick,  creative advisor and world renowned character, ask if you need more info on him) and Lauren here on the blog today for the A2Z Scraplet DT, how good is that? And you ask what has she got for us today?  Well a real treat I am hoping!!

So I made a card with some dies!!

Today it is a 5″x5″ square card with a front panel embossed with a Sizzix Embossing Folder in a beautiful Paris theme.  The usual ribbon treatment and bow, (my trademark I am told).  I also cut a border and doily from Kaiser Dies, Lacey Border and the matching doily.  When I cut detail dies I use baking paper to make them easy to get the die cut out of the die.  I keep the die cut baking paper for other uses.  I have also used Memory Box Isabella Butterfly and Pippi Butterfly for the cute little butterfly at the top right of the cars.  Also  Memory Box Sketchy Rings and Memory Box Petal Party to make three of the flowers.  All pieces are lightly edged with ink before assembly for definition and depth.

Just a close up of the inking on the embossing and all pieces, the flowers and edges of the card itself.  To finish off all flowers have been touched with Ranger Ice Stickles Chrystal Ice, because I can and I like it.

A close up to show the layering effect of the pieces used on the card.  Also the textures given by layers, embossing and inking.

So after that, I made you another card, this one with a chippie piece on it.  Love chippies

Oh I love getting some Christmas Cards made early and the little trees from A2Z Scraplets are just perfect for quick card making.  Oh remember I told you that I keep the baking paper from the die cutting?  Well I have used that on here as a stencil, see it there on the middle to left of the card, where I have lightly inked??? How clever is that??  Makes it look like I have a doily right there on the card.

Now to how I have coloured the chippie tree.  It is such a pretty shape this one, I love it.  Christmas Tree 4  So easy to decorate too.  I have used Stampendous Embossing Powder Shabby Green.  This is brilliant embossing powder (EP), but you need to throw out the window some of the things you usually do with EP…. this stuff is filled with different sized textured bits, from embossing powder to glitter and you need to heat from UNDER the item, because otherwise you lose half the goodies.  I am still learning and making mistakes doing it, but it can be done.  I kept losing the green bits in it, so I topped up with Ranger Distress EP in Peeled Paint to get the rich green on the tree.

There it is in close up, that lovely doily image from the baking paper.  Oh and the pretty tree too of course.  Now don’t forget that if I use something that I name that is not in the shop, then you can contact us to get it for you and I am sure our great leader will do the very best possible to do it for you!!

Well I have had great fun here today, thanks for having a look, hope you like what I have on offer today.

Hugs

Lauren

Read Full Post »

Hello Everybody,


What a fantastic day!!! Sun shining on a winter’s day.


So I made a card.


SANY3838


My favourite 5″x5″ card.  Lots of white with a broad band of lace down one side and ribbon across the centre under die cuts, some flowers and a sentiment from Tim Holtz.


Hope you like it.


Hugs 🙂


Lauren

Read Full Post »
Hello Everyone,


Just a quick post today.


Yes I made a card for you 🙂


SANY3833-001


I have made a card similar to this before, but I wanted to use washi tape on the banners and add the tower and some foliage.  Pretty happy with this one 🙂


Hope you like it.


Hugs 🙂


Lauren

Read Full Post »

Hello Everyone,


Made a card just for you….


SANY3829


This is a card in 5″ x 5″ with a panel on the front, I have made a frame from a Spellbinders set of square dies and used the cut out square in the middle to run through an embossing folder with distress ink, then heat embossing it with clear embossing powder.  All pieces are edged with the same ink.


Dies used are Sizzix Bigz Elegant Flourishes, Spellbinders Foliage, MFT flower die.  The brads have been heated and dipped in embossing powder and re-dipped and heated.  Love matching things by altering them.  The Sentiment is from Wild Rose Studio clear stamps Everyday Sentiments.  My special ribbon treatment and bow.


Hope you like it.


Hugs


Lauren


Read Full Post »

Hello Everyone!!


I am so looking forward to the new Minion Movie, it is out and in movie theatres, so I wonder how long before Netflix or Foxtel will have it.  I love those little blue and yellow fellows and can’t wait to see it.


So I made you a card, no no nothing to do with Minions though.


SANY3814


This is another one of these wonderful Wedding Cards, large size 6″x6″ in a gate fold style.  The 2 front panels are covered with designer paper and then I have used Martha Stewart Border Punch to make paper lace to lay on the front of the card.  Makes it so very pretty.


I have used the Sizzix Bigz Die Caged Bird for the birdcage for the centre focal of the card.  Ribbon runs around the card to tie it closed.  Decorated with loads of roses and butterflies as well as another ribbon.  On this one, there is room to put either Mr & Mrs or the names of the bride and groom inside the birdcage.  This card also has a special box to keep it in.


Hope you like it.


Hugs 🙂


Lauren

Read Full Post »

Hello Everyone!!

Cold winter’s day here, my fingers are still frozen at 1pm, don’t think it will get warmer for me.

so I made a card for you.

SANY3820

Oh this one is a cute one, made for a Challenge on Facebook ACCC, Using a Stencil, I have almost covered the stencil up!!

Yes a 5″ x 5″ card with a designer paper that I have stitched around.  Then I have inked the edges of the card and the paper, and then used an open chicken wire stencil to get hexagonal blobs and spatter on my card with texture paste.  Lace and a thin strip of the patterned paper, a sentiment and a lovely garland of roses and foliage, I have spiralled the wires on the roses to add another texture.

Hope you like it!!

Hugs 🙂

Lauren

Read Full Post »

Older Posts »